You have two general options for bulk importing multiple content files into Nuxeo:
- Install and use the Nuxeo File Uploader client
- Use the Nuxeo drag-and-drop feature, within the web interface
Please note that you will need to be assigned to designated permissions groups in order to upload files, including the "Members group."
Nuxeo File Uploader Client
We recommend using the Nuxeo File Uploader client, for the purpose of uploading large batches of files. The client is optimized to maintain a dedicated connection to the Nuxeo server, and lacks some of the constraints with importing files through a web browser.
Download the client
- Windows: download and install the latest nuxeouploader .exe file on your workstation
- Mac: download and install the latest nuxeouploader .dmg file into your Applications folder
Configure the Client
- Windows: launch FileUploader from the Start menu. Note that it may take a few moments for the client to open.
- Mac: launch FileUploader from Applications.
- Select the wrench icon in the upper right ("Setup Nuxeo Connection"), for a one-time configuration of the client. This will launch an Application Configuration window.
- First, ensure that the following URL is in the Nuxeo Server field (note the https): https://nuxeo.cdlib.org/nuxeo
- Next, you'll need to obtain a Nuxeo Token, to allow the client to authenticate and connect to Nuxeo.
- Click "Sign-in and get a Nuxeo Access Token for this computer".
- You will then be prompted to login to Nuxeo, in your browser window.
- Once you login, you will receive a pop-up window indicating the Nuxeo Token. Right-click and copy the alphanumeric string.
- Close the pop-up window.
- In the Application Configuration window, paste the alphanumeric string into the Nuxeo Token field. Optionally, in the Path Filter field, append your campus folder name (e.g., "asset-library/UCM"). Once you begin using the client, this will limit your upload target locations to Project Folders associated only with your campus.
- Last, double-check the Application Configuration window settings:
- Nuxeo Server: https://nuxeo.cdlib.org/nuxeo
- Nuxeo Token: (alphanumeric string)
- Path Filter: /asset-library/ (optionally, campus folder name appended to the end; you can verify the path by selecting your campus folder in Nuxeo, and checking the URL in your browser). NOTE: only the first 50 sub-folders will display in the results view.

Using the Client
- Choose Files button: click the Choose Files button to browse to and select files to upload to Nuxeo. By default, uploaded files will result in the creation of simple objects in the target Project Folder.
- Select target location to upload files. You can either upload files to a specific Project Folder -- or you select a particular complex object (to upload component files)
- Start Upload button: hit this button to once you've chosen files and selected a target Project Folder.
- Clear file and Project Folder selections using the reset button in the upper right corner.
Nuxeo Interface
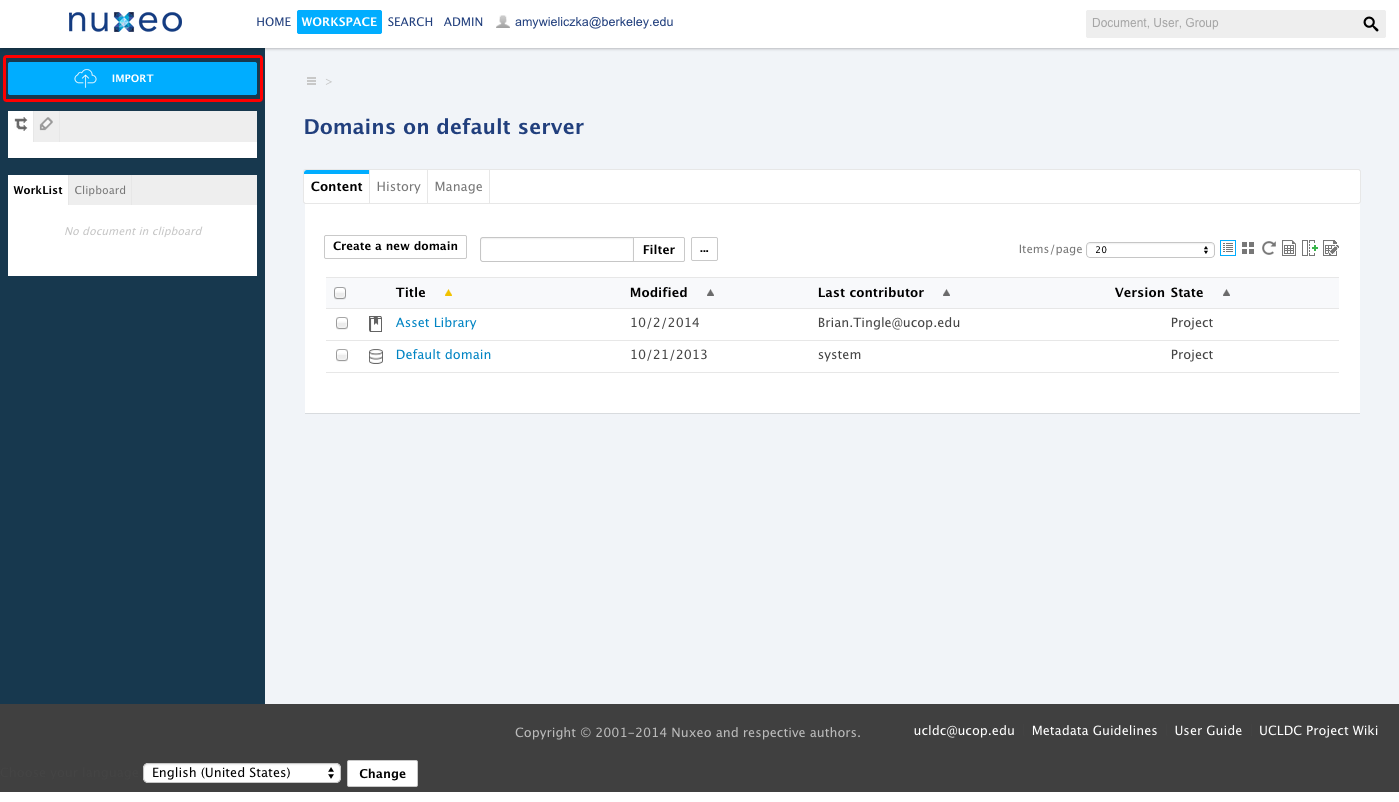
You can upload multiple files at a time via a drag-and-drop interface, input common metadata, and select a project folder for all objects to be imported to. Press the ‘Import’ button in the top left of the sidebar on any page within the Workspace module to launch the importer.
If using the Nuxeo interface, the number and size of the files you can upload in bulk is constrained by the limits of your internet speed and Shibboleth. You may try to run a bulk import, only to receive an error message that your Shibboleth session timed out because the files could not be uploaded fast enough. At this point, you’ll have to run the upload again, in smaller batches. We encourage you to test the importer with various files to guage your local capactiy.
If you have a fairly consistent internet connection and upload speed, the amount of files you can upload before Shibboleth times out should stay fairly consistent.
Also note that if you drag and drop more than three files, the first three will appear immediately in the drop zone, but the remaining files will appear one-by-one only after all prior files have been uploaded successfully. Even though a file may be successfully uploaded in the importer, you still have to press the ‘Import’ button at the bottom of the form before your Shibboleth session times out to successfully import an object. For all of the above reasons, we generally suggest you use the Nuxeo interface for small batches of files.